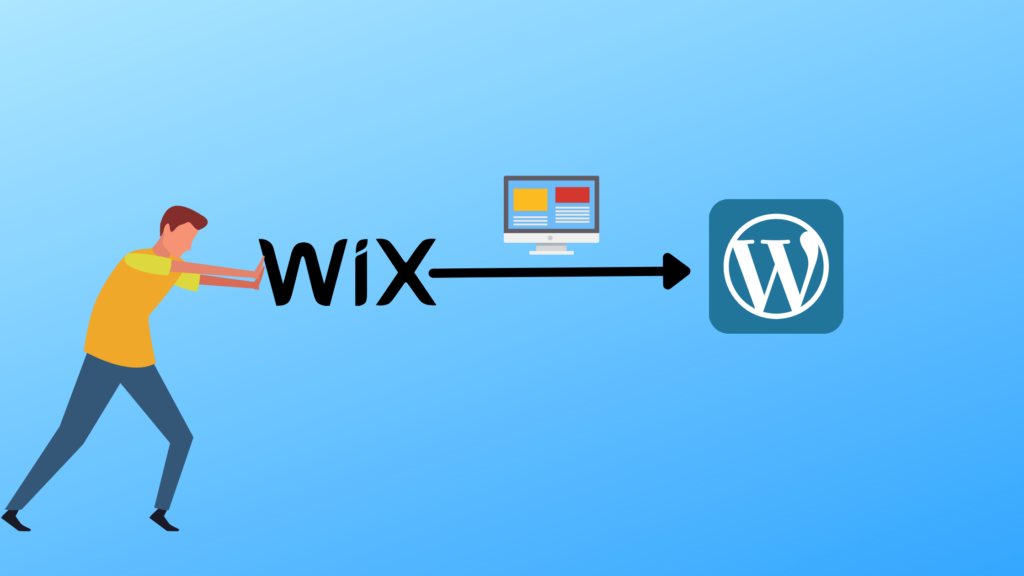
It is generally recognized that a majority of websites are built on the WordPress platform. Another common website construction platform is Wix. At a low level, there is probably not much to choose between the two development platforms, but as the scope and complexity of the website increases, WordPress offers far more flexibility and growth for an online e-commerce application.
Other reasons to migrate include:
- With Wix, they own the whole thing, domain, website, content and hosting. With WordPress, it’s all yours, except for hosting if you outsource it to a managed Service Provider like HostSailor.
- More Design Themes. Wix has about 500, WordPress over 5,000.
- Wix is much less flexible than WordPress.
- WordPress supports many more SEO plugins like Yoast. Wix is very unfriendly to Google, unlike WordPress.
- Plugins and Apps. As with SEO, WordPress has a significantly broader and deeper range; and
- WordPress is cheaper. True, WIX has a free version, but the continual ads will ruin any viewing experience.
Organisations need to transfer the domain from Wix to WordPress at some point in their development to take full advantage of these reasons to migrate.
This short document sets out how to go about it.
The first thing to understand is that transfer from Wix to WordPress is not simply picking up your stuff from Wix and loading it onto WordPress. You are basically starting from scratch.
Step 1 – Get Ready
- If you have a busy website, you need to create a list of internal URLs that you can transfer to the new website.
- Choose your host. Obviously, HostSailor will be a good choice.
Step 2 – Set up the Host
- Create the domain on the new host. Read this for details. Don’t transfer it until WordPress is installed. As soon as you start the transfer, your existing domain is deactivated. Don’t start the transfer until you are satisfied that the new website is up and running, or you will have a period when your website is unavailable.
There will be some time when it is unavailable anyway while the DNS records are updated, but you need to minimise the delay and avoid any other hassles like expiry, deregistration and deactivation.
- Install WordPress. If your MSP has already done this when setting up your hosting profile, skip this step. Otherwise, cPanel has a 1-Click option.
- Make sure you specify SSL. This helps Google rankings. Other hints and recommendations can be found here.
That is basically it. Some ideas for transferring the site itself are set out below, but please contact us if you have any queries or concerns.
The next step is to create a new website.
Migrate from Wix to WordPress.
Now you have your domain set up on your host server and WordPress installed, it’s time to bring your Wix website across.
Manual Conversion
For small websites, it’s possible to do it manually using a cut and paste approach, but this is not really an option for a larger website, or if you need to do it in a hurry.
When the cut’n’paste is done, including any images, there are still a few steps:
- Optimise images for the web. This is important.
- There is a WordPress plugin that will look at your Wix site and import them to WordPress. This is quite an old plugin that hasn’t been updated recently, so it may or may not work.
- Import any XML.
- Import any RSS.
Automated and semi-Automated Conversion
If your website is too large, or you don’t have the resources to do it, there are software services, some online and some outsourced that will help.
Completing transfer domain from Wix to WordPress 2022
Until now the Wix domain has still been active. Now that the WordPress site is up and running it is time to link your domain name and activate the new site.
- Wix Activity
- In Wix, use the “Transfer away from me” option on the “My Domains” page.
- Enable “Send Code”. It will take up to 24 hours to receive the EPP/Authorisation code by email.
- WordPress Activity
- “My Sites” page, then “Manage” then “Domains”.
- “Add Domain”.
- “Use a Domain I own”, then “Transfer to WordPress”.
- Enter the Domain name to transfer and click “Start Transfer”. Get the name right or you enter a world of trouble.
- Use the EPP/Authorisation code sent from Wix and activate the “Check My Authorisation Code”.
- Continue and Confirm.
The domain will now be transferred to WordPress, DNS records updated, and the Wix site deactivated. This may take a few days.
We hope this short document helps, but if you have any questions about web hosting, Wix and WordPress, we have skilled and experienced professionals who will be delighted to help. Please ask us if you have any queries or concerns.

